Popular Kitchen Cabinet Painting Styles in Vista
/kitchen-cabinet-painting-mistakes-2000-70d96e5b20d34d9f983816d1c06c88db.jpg)
Vista, California, boasts a diverse architectural landscape, influencing current kitchen cabinet painting trends. Homeowners are embracing styles that blend seamlessly with the existing architectural character of their homes, while also reflecting modern design sensibilities. This section explores three popular styles currently trending in Vista, along with considerations for paint type and color palettes.
Trending Kitchen Cabinet Painting Styles in Vista
Three prominent styles are currently shaping kitchen cabinet painting projects in Vista: Modern Farmhouse, Coastal, and Shaker. Each style offers a unique aesthetic achieved through specific color palettes and finishes. The choice often depends on the existing home style and the homeowner’s personal preferences.
Paint Type Durability Comparison
The durability of kitchen cabinet paint significantly impacts longevity and maintenance. Latex paints offer excellent washability and are relatively easy to apply, making them a popular choice for DIY projects. However, enamel paints generally provide a harder, more durable finish, better resisting scratches and chips, making them a superior choice for high-traffic areas. Oil-based paints, while offering excellent durability, are less environmentally friendly and require more careful cleanup. The selection should consider factors like the level of use the cabinets will endure and the homeowner’s preference for ease of application versus ultimate durability.
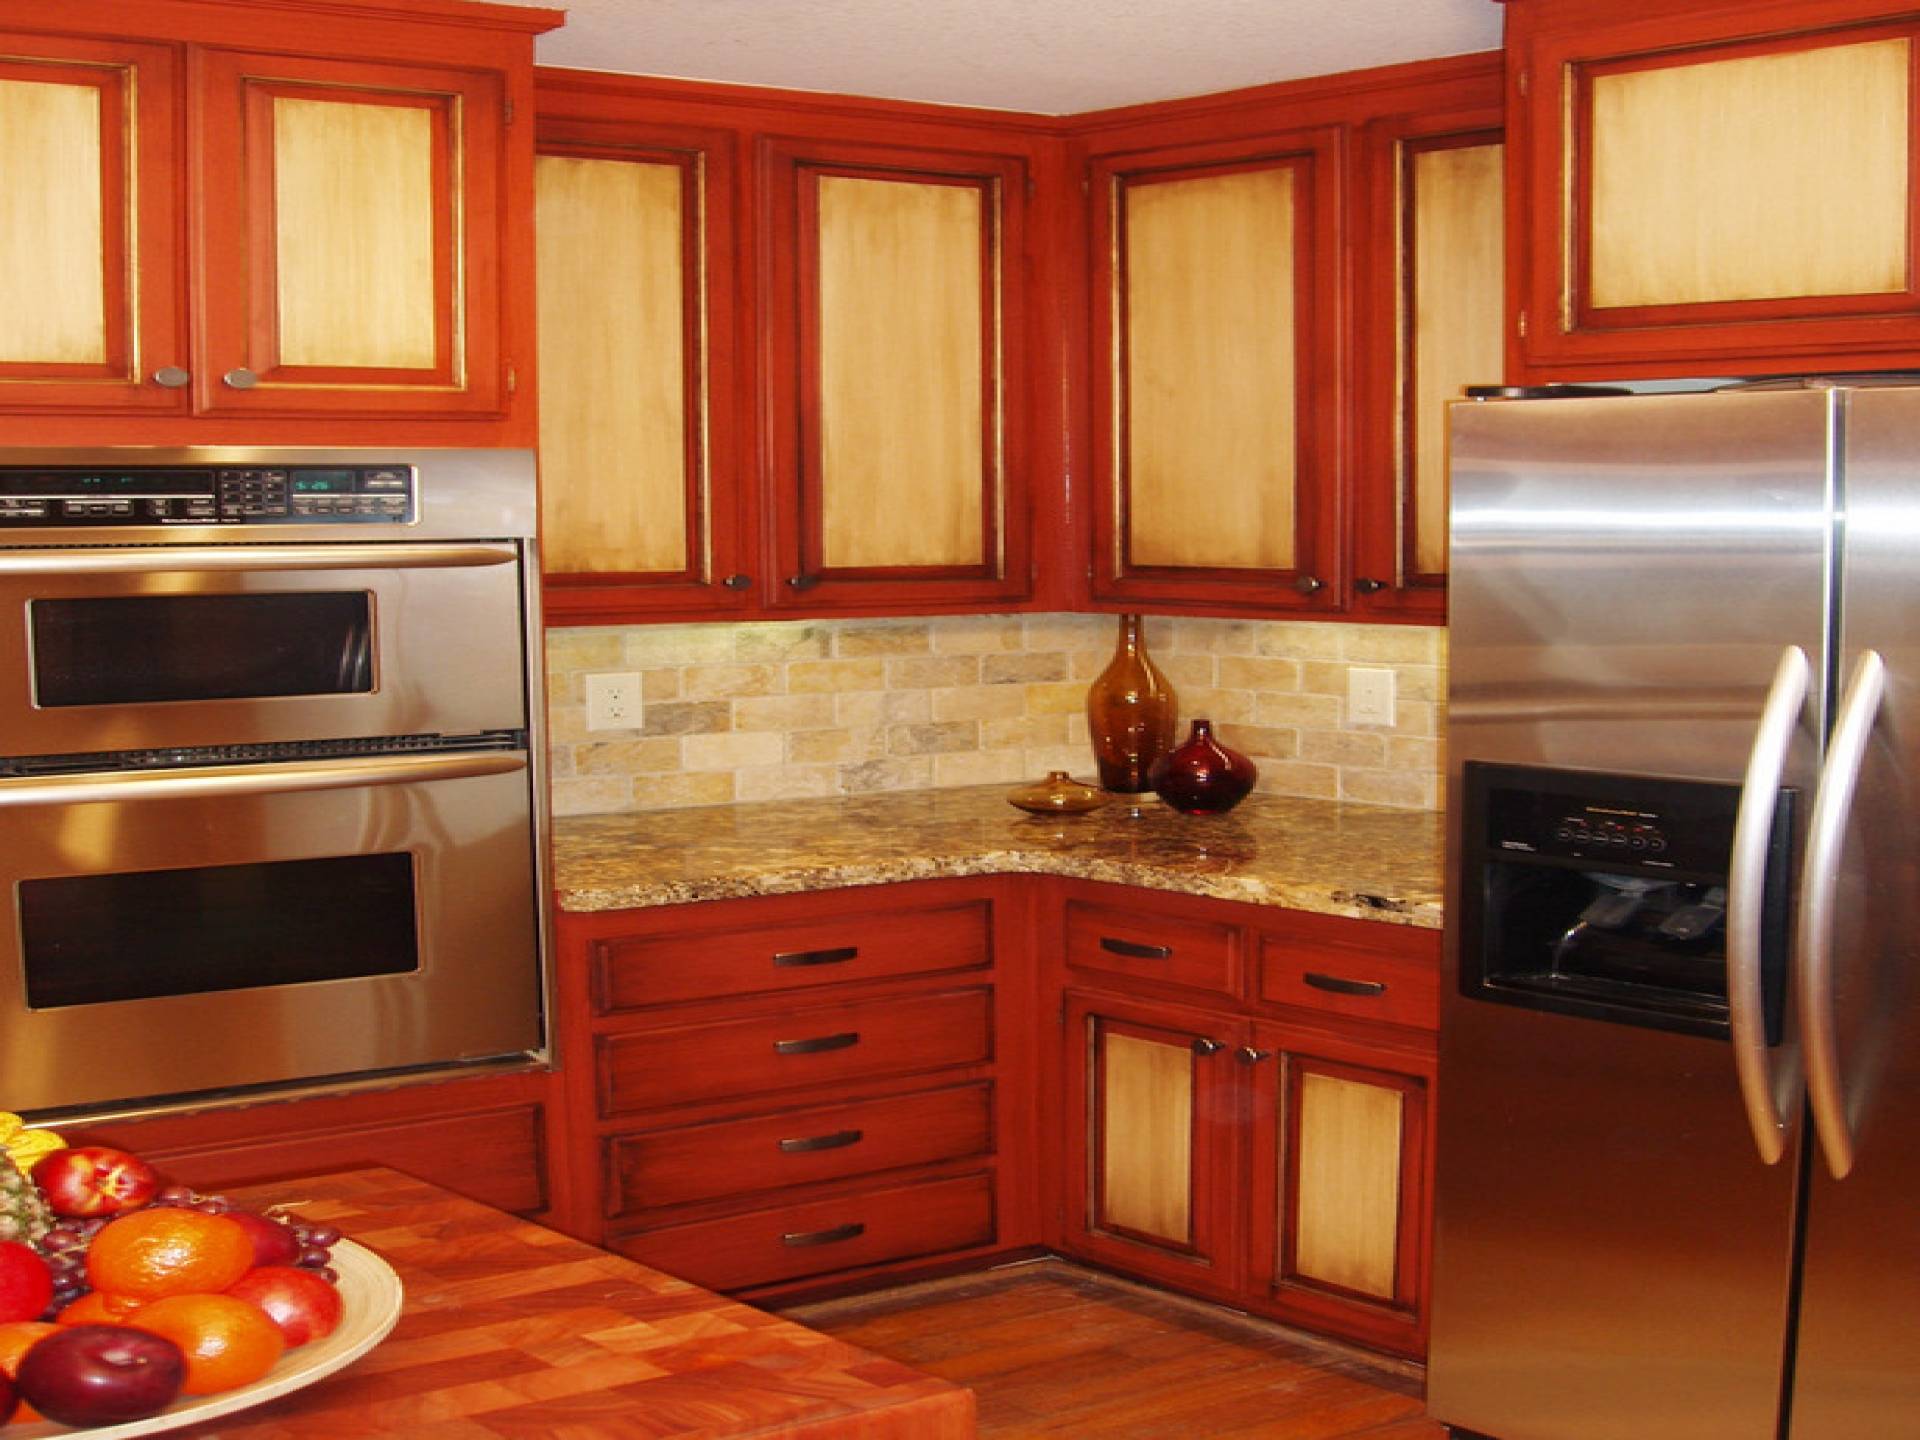
Modern Farmhouse Kitchen Cabinet Color Palette
A modern farmhouse kitchen in Vista, often characterized by a blend of rustic and contemporary elements, might benefit from a color palette that reflects the local architectural styles—many homes incorporate natural materials and earthy tones. A sample palette could include a creamy white or warm off-white for the cabinets, complemented by a muted gray-green or warm taupe for the island. Black hardware and countertops in a material like butcher block or quartz would complete the look. This palette provides a sense of warmth and sophistication while retaining a rustic charm.
DIY vs. Professional Cabinet Painting Cost-Effectiveness
The decision between DIY and professional kitchen cabinet painting involves weighing costs, time, and skill levels. While DIY can be significantly cheaper upfront, the time commitment can be substantial, potentially stretching the project over several weeks or even months depending on the size of the kitchen and the homeowner’s experience. Professional painters, conversely, offer efficiency and expertise, completing the project more quickly, although at a higher cost.
| Method | Cost | Time Commitment | Skill Level |
|---|---|---|---|
| DIY | $500 – $1500 (materials only) | 2-4 weeks (or longer) | Intermediate to Advanced (prior painting experience recommended) |
| Professional | $3000 – $8000 (depending on size and complexity) | 1-2 weeks | Professional |
Finding and Preparing Cabinets for Painting in Vista: Kitchen Cabinet Painting Vista
Preparing your kitchen cabinets for painting is a crucial step in achieving a professional-looking finish. Proper preparation ensures the paint adheres correctly and lasts for years. This involves a multi-step process encompassing cleaning, sanding, and priming, tailored to the specific material of your cabinets. Careful attention to detail at this stage will significantly impact the overall quality of your paint job.
Cabinet Cleaning
Thorough cleaning is the foundation of any successful paint project. Start by removing all grease and grime from the cabinet surfaces. A degreasing solution, such as TSP (trisodium phosphate), mixed according to package directions, is highly effective. Apply the solution with a sponge or cloth, scrubbing gently to remove any built-up dirt or grease. Rinse thoroughly with clean water and allow the cabinets to dry completely before proceeding. Failure to properly clean the cabinets will result in poor paint adhesion and a less-than-ideal finish.
Sanding the Cabinets
Sanding creates a smooth surface that enhances paint adhesion. Use fine-grit sandpaper (120-220 grit) to lightly sand all surfaces, paying close attention to any imperfections or raised grain. For smoother surfaces, consider using an electric sander for efficiency. Always sand in the direction of the wood grain to avoid scratches. After sanding, wipe down the cabinets with a tack cloth to remove any dust particles. This step prevents dust from settling into the wet paint, resulting in a bumpy texture.
Priming the Cabinets
Priming provides a uniform base for the paint and helps prevent the wood from absorbing the paint unevenly. The type of primer you choose depends on the cabinet material. For wood cabinets, an oil-based primer is often recommended for its superior adhesion and blocking properties. For laminate cabinets, a bonding primer is essential to create a suitable surface for the paint to adhere to. Apply the primer evenly with a brush, roller, or spray gun, following the manufacturer’s instructions. Allow the primer to dry completely before applying paint.
Removing Cabinet Hardware and Doors
Removing cabinet doors and hardware simplifies the painting process, allowing for easier access to all surfaces. Begin by carefully unscrewing all hinges and knobs using a screwdriver. Keep screws organized in labeled bags or containers to avoid confusion during reassembly. Gently remove the doors, taking care not to damage them. Similarly, remove all drawer pulls and knobs. Label each piece with its corresponding location for easy reinstallation. This organized approach minimizes the risk of misplacing hardware or installing it incorrectly.
Essential Tools and Materials
Careful planning is key to a successful painting project. Having all the necessary tools and materials readily available will streamline the process.
- Degreasing solution (e.g., TSP)
- Sandpaper (120-220 grit)
- Tack cloth
- Primer (appropriate for cabinet material)
- Paint (chosen color and type)
- Paintbrushes and rollers
- Screwdrivers (various sizes)
- Drop cloths or plastic sheeting
- Painter’s tape
- Putty knife (for filling imperfections)
- Safety glasses and respirator mask
Post-Painting Care and Maintenance of Vista Kitchen Cabinets

Protecting your newly painted Vista kitchen cabinets is crucial to preserving their beauty and longevity. Proper care and maintenance will prevent damage and ensure your cabinets remain a stunning focal point in your kitchen for years to come. This section Artikels essential cleaning techniques, addresses potential issues, and highlights the benefits of protective coatings.
Cleaning Newly Painted Kitchen Cabinets, Kitchen cabinet painting vista
Regular cleaning is key to maintaining the pristine look of your freshly painted cabinets. Avoid harsh chemicals and abrasive cleaners, which can damage the paint finish. Opt for a gentle solution of mild dish soap and warm water. Apply the solution to a soft, damp cloth or sponge, and gently wipe the cabinet surfaces. Rinse with clean water and dry thoroughly with a soft, lint-free cloth to prevent water spots. For stubborn grease or grime, a non-abrasive cleaner specifically designed for painted surfaces can be used sparingly. Remember to always test any cleaning solution on an inconspicuous area first to ensure it doesn’t damage the paint.
Addressing Potential Post-Painting Issues
While proper preparation and application minimize the risk, some issues might arise after painting. Chipping can occur due to impacts or accidental scratches. Minor chips can often be repaired using touch-up paint, carefully applying a small amount with a fine-tipped brush and allowing it to dry completely. Larger chips may require professional repair. Peeling can be caused by inadequate surface preparation or using low-quality paint. If peeling occurs, the affected area may need to be scraped, sanded, and repainted. Blistering, which appears as raised bubbles in the paint, usually results from moisture trapped beneath the surface. This often requires stripping the paint and addressing the moisture problem before repainting.
Benefits of Cabinet Sealants and Protective Coatings
Applying a sealant or protective coating after painting offers significant advantages. A sealant acts as a barrier, protecting the paint from moisture, grease, and scratches. This extends the lifespan of the paint job and makes cleaning easier. A high-quality polyurethane sealant is a popular choice, offering excellent durability and resistance to wear and tear. The sealant also helps to create a uniform, smooth finish, enhancing the overall appearance of the cabinets. Regularly reapplying a sealant every few years can further extend the life and beauty of your painted cabinets.

